The containerized GRR is a forked version of GRR Rapid Response, incident response framework designed by Google engineers. In today’s blog post I’m focusing on the GRR features that allow the real-time investigation to be made remotely via web-based user interface. Read more about the Docker containerized GRR from my previous blog post.
GRR is an agent-based tool, which signifies that the agent needs to be active on the systems desired to be investigated. When the agent has been deployed and it has successfully performed the initial interrogation with the GRR server, it can then be requested to perform forensic tasks on the client system.
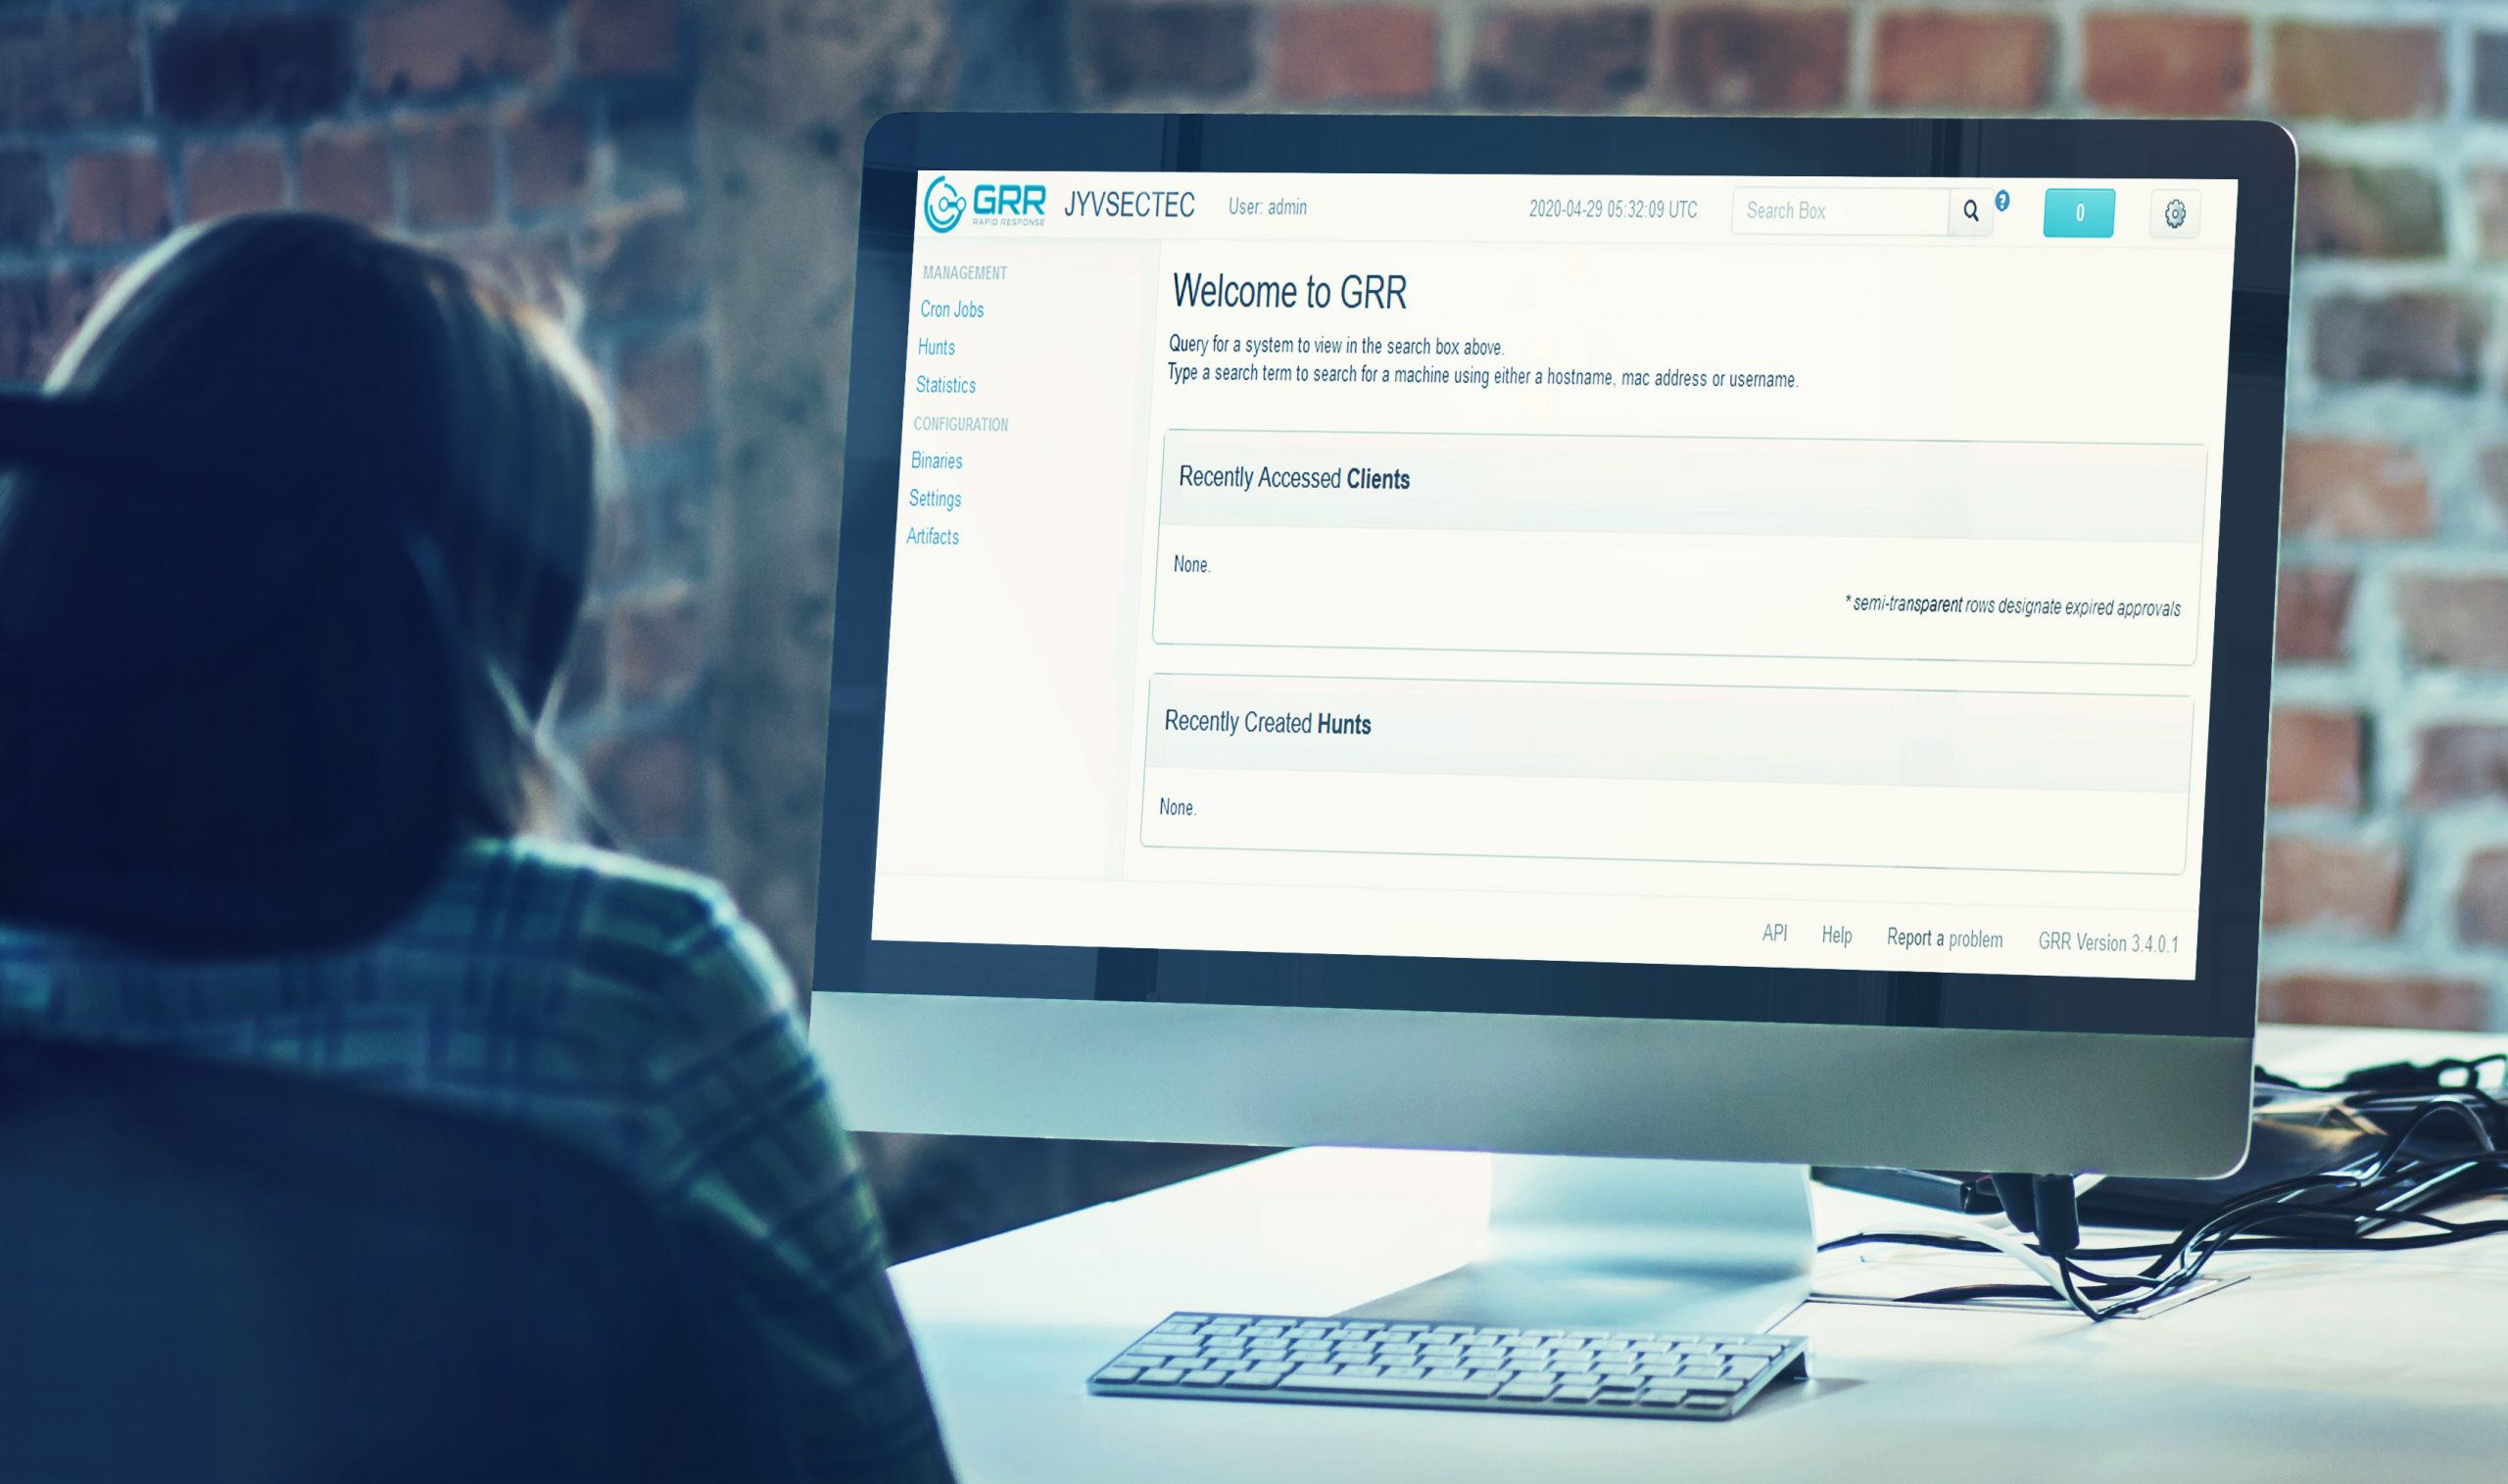
By default, the agent polls periodically tasks from the server’s client-specific message queue and then sends the results back to the server using HTTP POST requests. All the message exchange between client and server is encrypted. For the client management on the server, GRR offers two options: an API or a web-based graphical user interface. In this blog post I will go through how to take the initial steps on GUI to start the investigation on a single target system and then perform the same actions at scale.
Exploring connected clients
When the GUI is accessed, you can start a search of clients connected to the GRR server by using a different keyword on the upper-right search box. For instance, you can use the client’s IP address, hostname, domain name, label, MAC address, user, or a time range as a keyword. If an empty search is made, all the connected clients are listed. See the GRR’s official documentation for specific details.

Flow and Hunt
GRR contains two functionalities called Flow and Hunt designed for a real-time investigation. The essential difference between the two is the scale they use. Flow is used when the workflow is performed on a single client, whereas Hunt expands the workflow to concern a larger fleet of systems.
You can start a new Flow by selecting a single client from the list of connected clients. After the selection, the Start new flows option appears on the left pane. When Start new flows option is activated, the list of catalogs appears on the right pane. By expanding one of the available catalogs, you can select the Flow that meets the requirements of your investigation workflow.
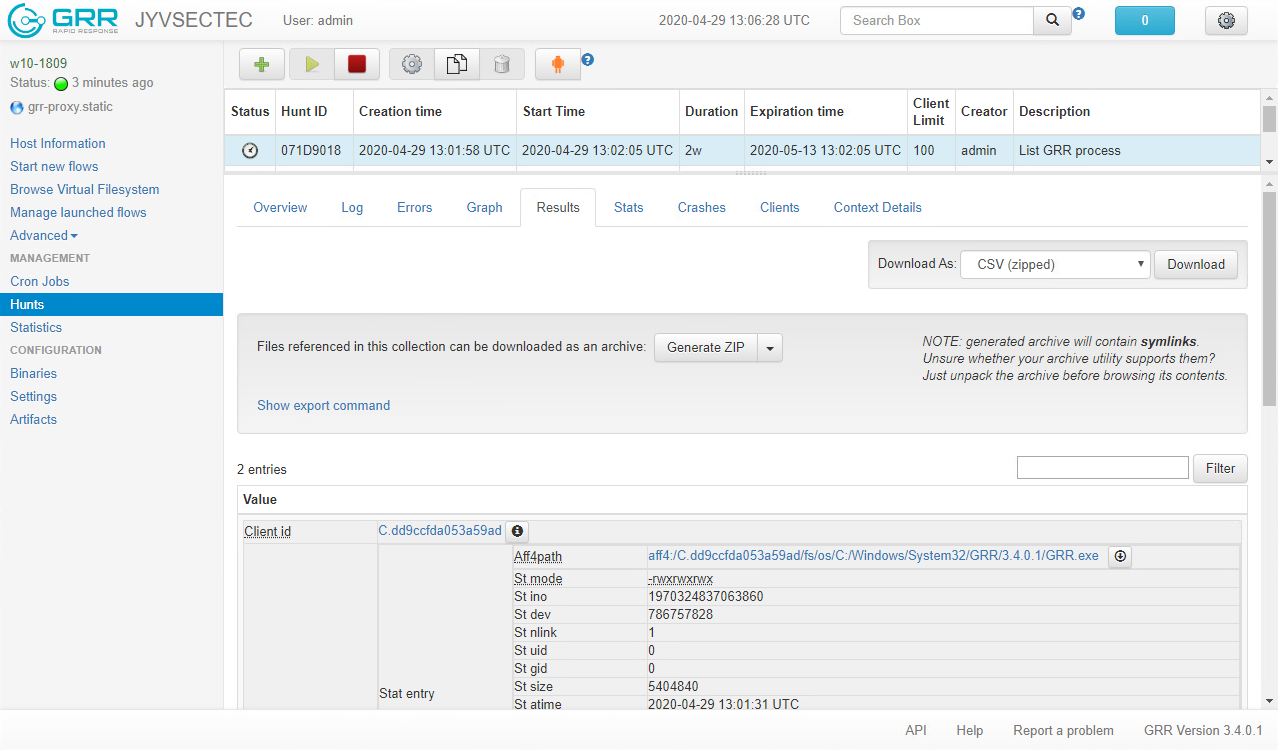
For instance, under Processes catalog you can find the ListProcesses Flow which retrieves by default all the running processes on the client. Alternatively, you can use FilePath Regex option to restrict the search to concern only those processes executable’s absolute file path of which matches your regular expression statement. For example, using the pattern .*GRR\.exe$ only those processes, the executable’s file path of which end with GRR.exe are retrieved. If Fetch Binaries option is enabled, also the executable file associated with the process is fetched from the client to the investigation workstation. When you are ready, press the Launch button to trigger the Flow.

If Notify at Completion option is enabled, you are informed with a notification when the Flow execution is finished. The color of the light blue button changes to red showing the amount of the new notifications. Press the button to expand the whole list of notifications and then select the notification which corresponds to the Flow you triggered to examine results. You can also access the results directly by selecting the Manage launched flows option from the left pane and then selecting the desired Flow from the list. Obtain the Flow results from the Results tab.

As mentioned, Hunt allows you to perform investigation workflows at scale. You can expand the Flow executed on a single system to concern every system or a fleet of systems on your environment by using Create Hunt from Flow button. Alternatively, you can craft a new Hunt from scratch by selecting the Hunts option on the left pane and then pressing the New Hunt button. The appearing wizard allows you to create a new Hunt that meets your workflow’s requirements.
By default, Hunt is executed on every client on your investigation domain. You can reduce the scale by adding restrictive rules on New Hunt – Where to run? page to trigger the Hunt only those clients that meet the rules. When the Hunt is crafted, its status remains Paused until you press Run Hunt button. You are required to proceed the action before the Hunt is executed. As in Flows, the results of the Hunt can be examined from the Results tab. A separate notification is not sent to the user.
Coming up
In the following post I will go through how to perform more advanced forensic tasks on a client. I will also explain, how to perform proactive hunting on your environment.
About this blog post
This blog post is the second post in a series that focuses on raising the organizations’ capability to prepare, hunt, and respond to the incidents occurring in organizations’ environments by using Prepare-Hunt-Respond model, designed by JYVSECTEC’s specialists. If you have any questions related to the blog post or you want to hear more about the PHR model, you can address the author directly. Stay safe and tuned.
Read the previous blog post Deploy the containerized GRR to unmask the intruders.
Photo: Jan Kraus, Mats-Peter Forss, CreativeBooster
 |
Joni Ahonen Technical Specialist Institute of Information Technology, JAMK University of Applied Sciences |